Information
This is a work in progress post.
TL;DR;
Alright, you got here via search (hopefully using DuckDuckGo) and don’t want me
to lament on and on about why this is a good idea.
Just go and post the bits only sections of this post one by one, it wont be the best setup,
but it’ll get you started.
Preparation
You need the following:
- 1) A DigitalOcean account. Trust me they are brilliant.
- 2) (for backup, advised) an Amazon AWS account and access keys / credentials
- 3) A way to access the servers ssh console. I’ll be using the built in Terminal emulator. In Windows you’ll probably want to use Putty.
- 4) And a set of SSH keys to authenticate yourself without password; the best tutorial for that I know of is from Github: (Generating SSH Keys)[https://help.github.com/articles/generating-ssh-keys/]
- 5) An available domain or subdomain, in any case use namecheap if you need a new domain.
Create a new Droplet on DigitalOcean
For this step you’ll need (from the preparation list):
- 1) the DigitalOcean account
- 2) working SSH setup
- 3) and a set of SSH keys
DigitalOcean makes the next couple of steps really easy.
To ensure that you’re able to follow along I’ve added screenshots for each step.
start creating your new Droplet
Once you’re logged in to your DigitalOcean account click on “Create Droplet”.

This will open the page that takes all the information about our new Owncloud instance.
Supplying all necessary information to create the Owncloud server
Name your Server
Any name will do in my example I’ll be naming it myowncloud.

Select the right size
The absolute minimum for this is 1GB, please don’t select 512MB. However, you’re free to select anything higher. I’m using 1GB
happily at the moment, which should be sufficient for up to 10 users.

Select the Owncloud Application Image
Fortunately, DigitalOcean provides us with an Owncloud image. The image contains almost everything we need out of the box,
let’s select it.

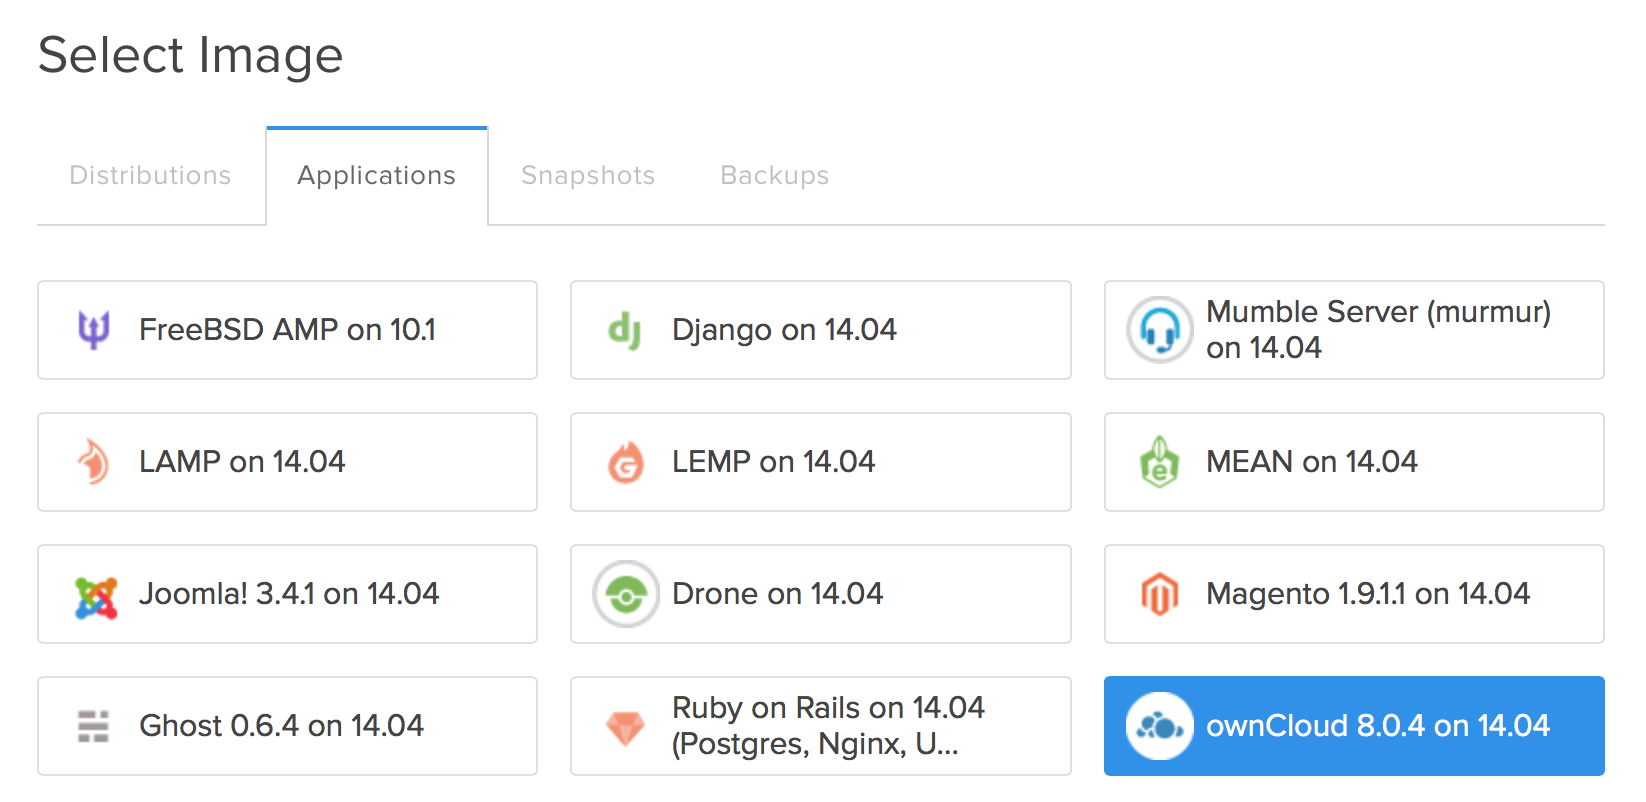
Click on Applications.

And select Owncloud 8.0.4 on 14.04. DigitalOcean updates these application images quite frequently,
so, your version number should either be 8.0.4 or anything higher than that. The 14.04 stands for
Ubuntu 14.04 and references the current LTS (LongTermRelease) until the next LTS release comes out
this will be the same as well.
Pick the region
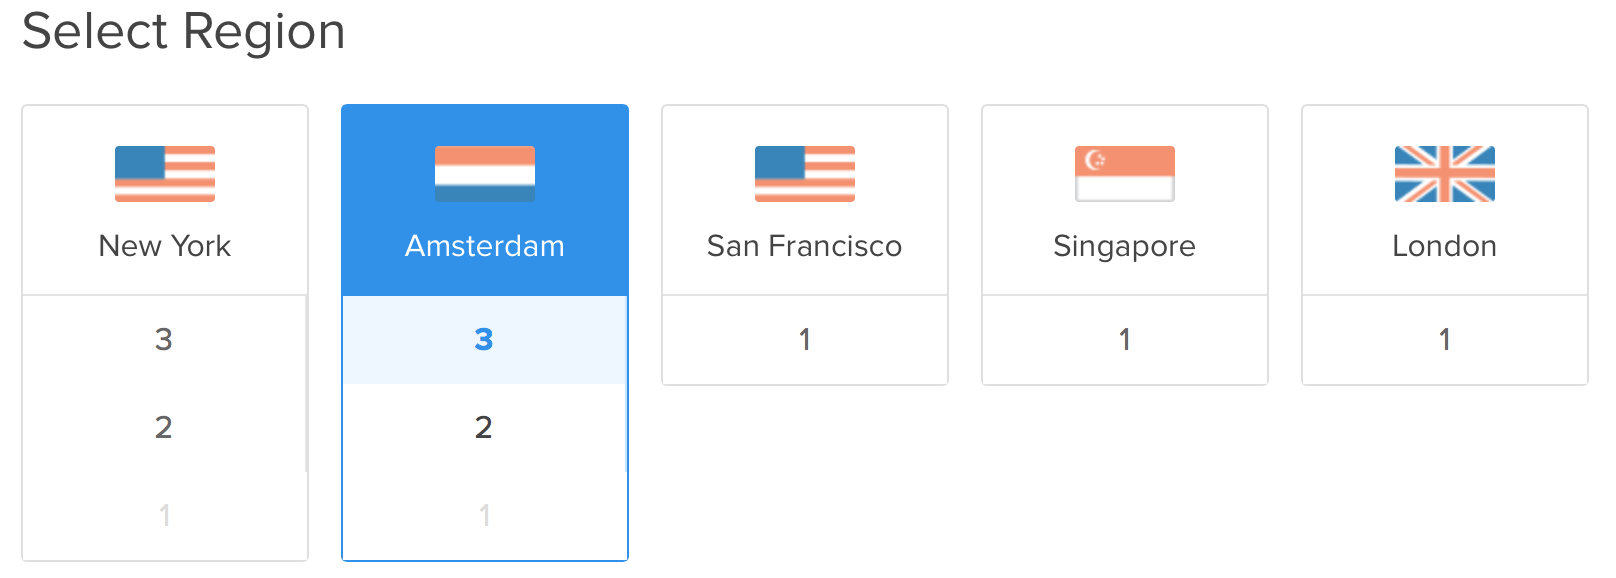
The region references the location on planet earth of our instance. For me in the UAE the Amsterdam location has
shown the best performance in terms of access performance. I’d advise to that you pick the
closest city to your current location.
Adding SSH keys
We’re almost done with this part of the tutorial.
Let’s add your previously generated SSH keys.

This is not optional and a very important step. The SSH key is the only way that you’ll be
able to access your server. Please make sure you’re following this properly.
Please press *Add SSH key”.
Now, please proceed with Step 4 from the Github Tutorial.
I’ve added this step below so that you don’t need to jump back to the other site.
1 | $ pbcopy < ~/.ssh/id_rsa.pub |
And paste the contents into the text field.

Confirming all above information and creating the Owncloud instance
We’re done on DigitalOcean now. Just press Create Droplet and your new Owncloud instance
will be created within 30 seconds.


After about 30 seconds, you’ll be redirect to the droplets main page and you should see.

Congratulations, you’re the proud owner of your own Dropbox alternative using Owncloud 8.
In the next steps we’ll make sure that your shiny new Owncloud instance is save and secure.
To be able to continue you need to take note about the IP address of your new Owncloud instance.
You’ll find it on the same page.

It’s the first numbers, in my case they are: 178.62.187.178.
Owncloud Initial Setup
Let’s head over to your new Owncloud instance for some 5 minute initial setup.

You should be redirected automatically to:

Don’t just go and download those Apps, we’ve got some more stuff todo. :)
create your own admin user account
Unfortunately, admin is not a good username for your main ownclouds administration account.
We need to change it to something better. I’ll be using myownclouduser as the name for the admin
user account.
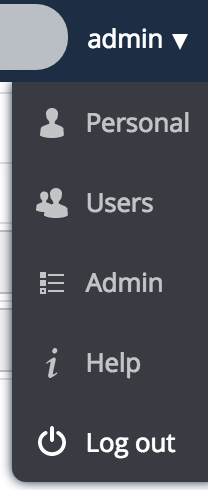
Select Users from the dropdown menu on the top right corner.
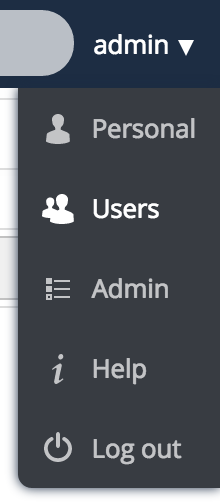
Add the username in the first box, the password in the second box and select admin as group.

If it all worked, this is what you should see.

Lets try it out, please select Log out from the top right dropdown menu.
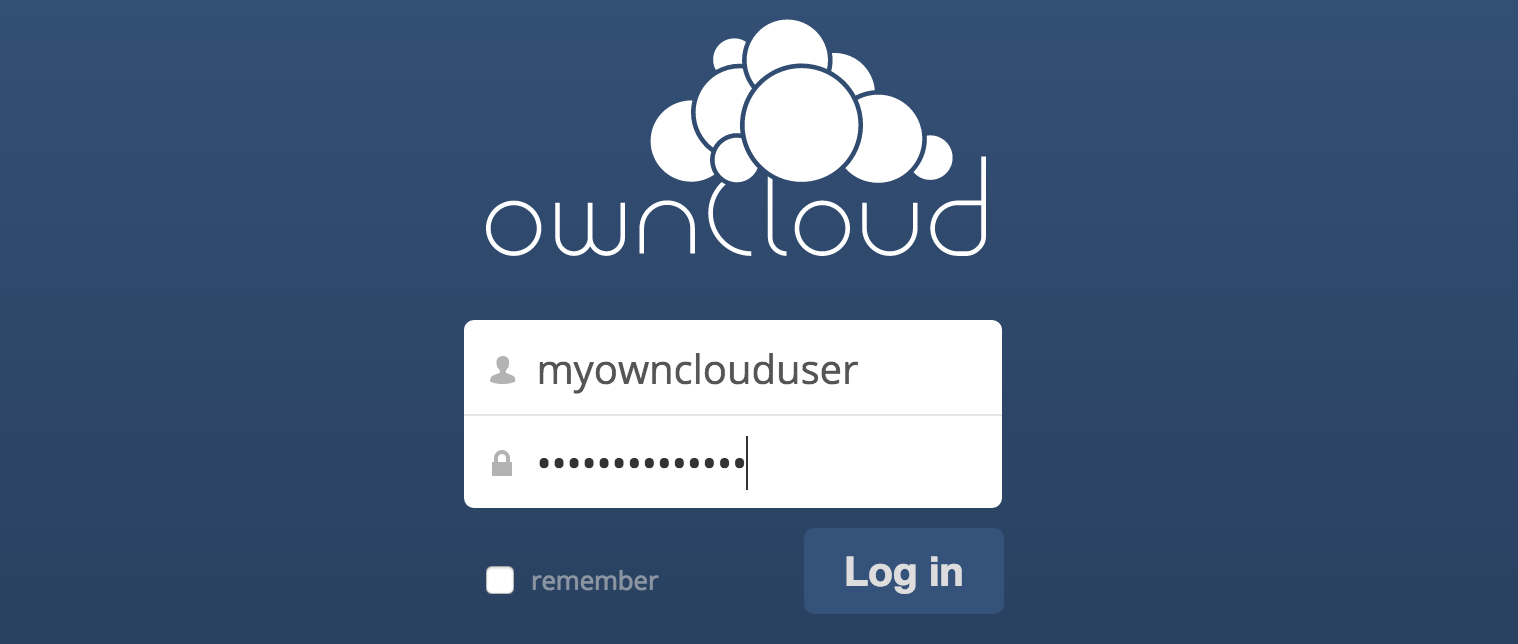
This will redirect you to the generic log in page. Please enter your username and password.
If it all worked you should find yourself back in the Owncloud interface.
switch to https only
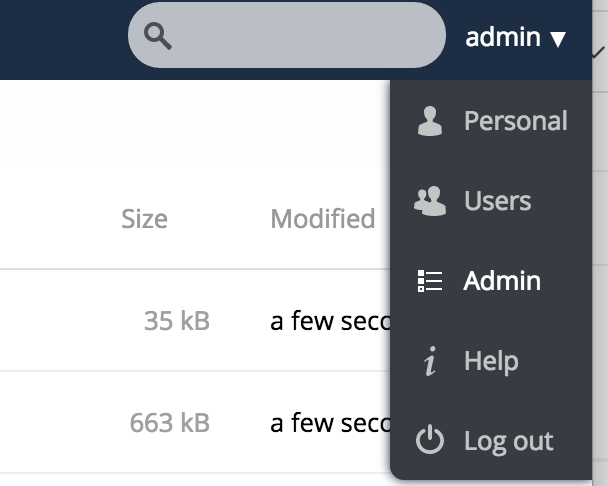
Now, if you go and switch to the Admin page, you’ll be greeted with the following message in nice bold red letters.
HTTPS is a secure transport protocol, this is used to ensure that people can’t read your data while it’s in transit between
your device and the server. To use HTTPS you have two options, you can purchase a certificate (we’ll be doing just that later on in this blog post)
or you can use a certificate that was generated with the server. It’s ok to use the generated certificate for now, you’ll get some
security warnings, but besides that, it’s perfectly fine.

To fix this using the generated certificate, we first need to switch to HTTPS as protocol.

This will make your browser display the following warning.
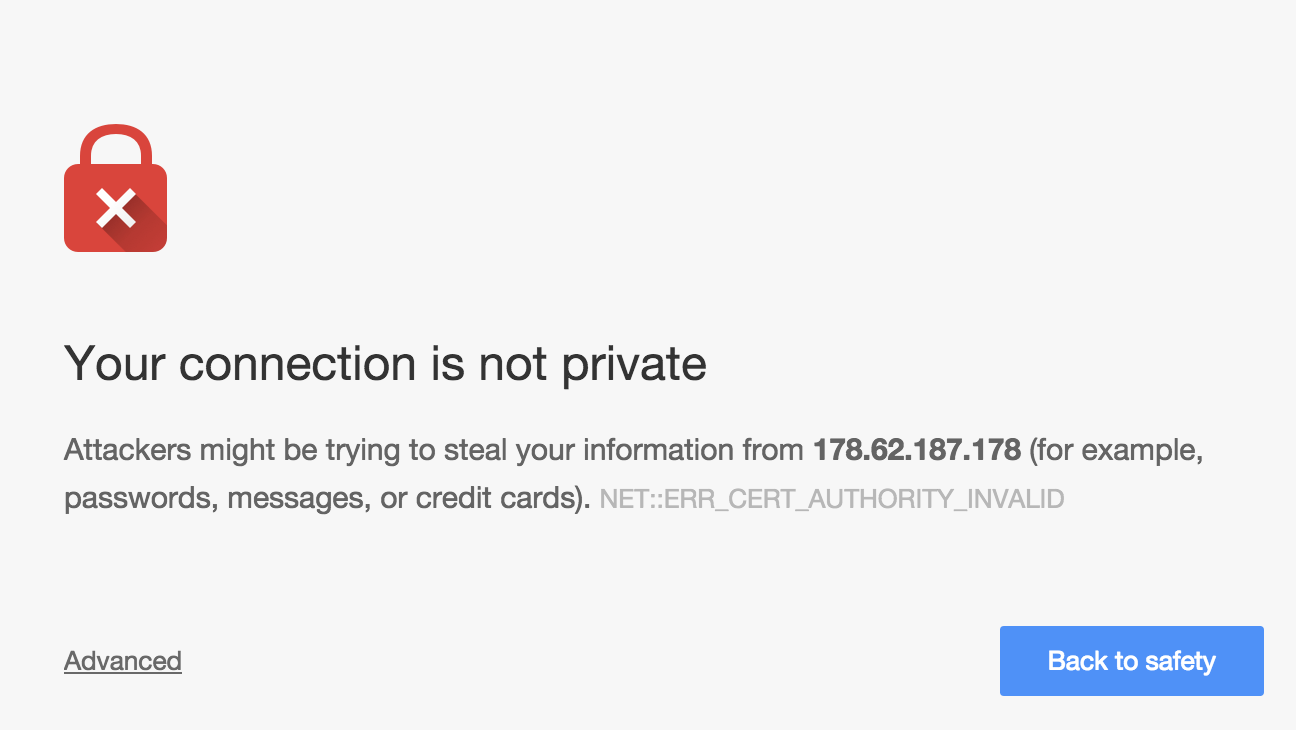
Don’t worry, everything is fine, this is our own certificate, hence we can trust it. Select Advanced.
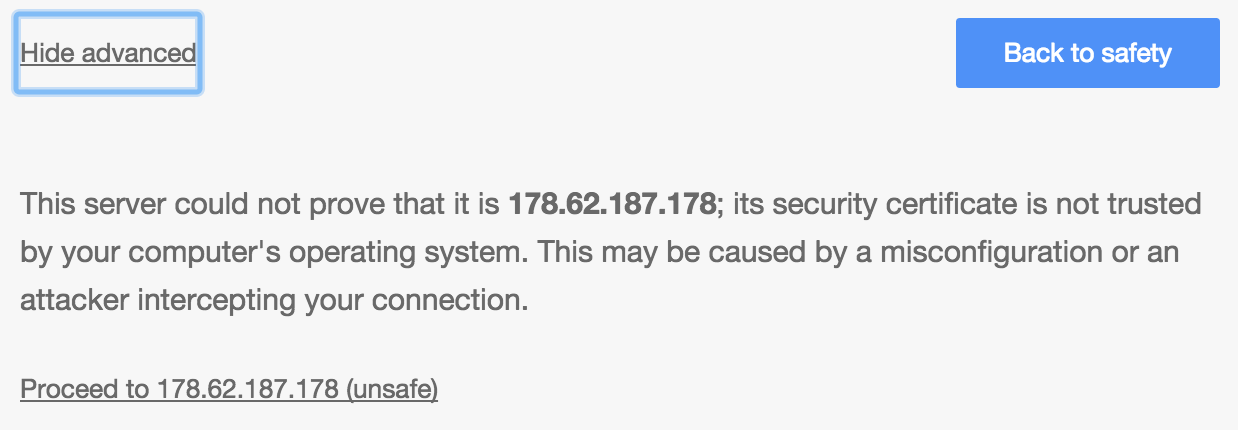
And click, “Proceed to … (unsafe)”.
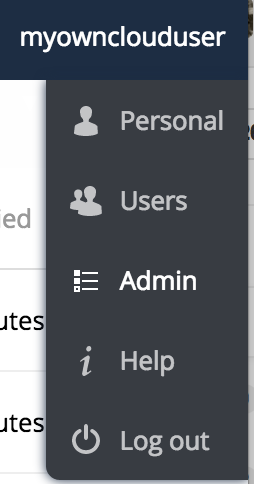
Now, we’re back in the Owncloud interface, using our own certificate. Lets head over to the admin page and change some settings.
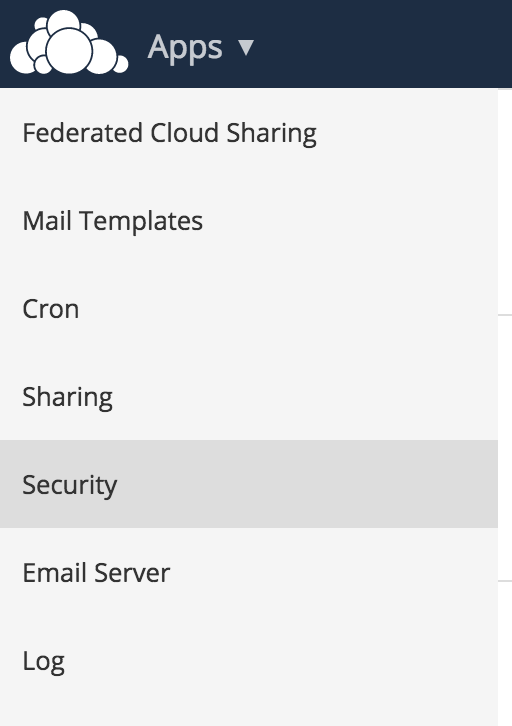
In the Admin page, switch to the security part of the page by selecting Security on the left side menu
and select the option Enforce HTTPS as well as Enforce HTTPS for subdomains.

Great, now we have a reasonably save initial setup, lets continue with some basic server security steps.
Basic Server Security Steps
Follow the steps in this post Basic Server Security Steps
Backup
We’re still missing a nice backup solution for our data.
I’ll be using:
- Amazon S3 in Amsterdam
- Duplicity
I’ll be adding this section soon.
Domain Setup
Either get an SSL certificate from namecheap
or use a self-signed one.
… to be continued later
